type
status
date
slug
summary
tags
category
icon
password
本课程是在原英文课程上做的一些细化和补充
为什么想做这个课程呢,因为之前自己用wordpress搭建的博客网站,写好的文章放到wordpress后台总是要调整格式,添加图片,比较繁琐,所以就一直探究更简单的方法,正好找到了一个国外的开源项目,基于notion作为内容管理的博客网站,省去调整的步骤,自动上传图文到博客网站,本网站也正式基于此项目,开源项目地址:

开源项目教程

💡
原教程是纯英文的,比较详细,我翻译一下中英对照放在这里点击小三角可展开

Next.js Notion 入门套件

The perfect starter kit for building websites with Next.js and Notion
.使用 Next.js 和 Notion 构建网站的完美入门套件。
notion image
notion image

Intro 介绍

This repo is what I use to power my personal blog and portfolio site transitivebullsh.it.
我用这个存储库来支持我的个人博客和投资组合网站 transitivebullsh.it。
It uses Notion as a CMS, react-notion-xNext.js, and Vercel.
它使用 Notion 作为 CMS、react-notion-x、Next.js 和 Vercel。

Features 特征

  • Setup only takes a few minutes (single config file) 💪
    • 设置只需几分钟(单个配置文件)💪
  • Robust support for Notion content via react-notion-x
    • 通过react-notion-x对Notion内容的强大支持
  • Built using Next.js, TS, and React
    • 使用 Next.js、TS 和 React 构建
  • Excellent page speeds
    • 出色的页面速度
  • Smooth image previews
    • 流畅的图像预览
  • Automatic social images
    • 自动社交图像
  • Automatic pretty URLs
    • 自动漂亮的 URL
  • Automatic table of contents
    • 自动目录
  • Full support for dark mode
    • 全面支持深色模式
  • Quick search via CMD+K / CMD+P
    • 通过 CMD+K / CMD+P 快速搜索
  • Responsive for different devices
    • 响应不同设备
  • Optimized for Next.js and Vercel
    • 针对 Next.js 和 Vercel 进行了优化

Demos 演示

  • Default demo - Deployed from the main branch
    • 默认演示 - 从 main 分支部署
  • My site - Deployed from the transitive-bullshit branch
    • 我的网站 - 从 transitive-bullshit 分支部署

Setup 设置

All config is defined in site.config.ts.
所有配置都在 site.config.ts 中定义。
This project requires a recent version of Node.js (we recommend >= 16).
该项目需要最新版本的 Node.js(我们建议 >= 16)。
  1. Fork / clone this repo
    1. 分叉/克隆此存储库
  1. Change a few values in site.config.ts
    1. 更改 site.config.ts 中的一些值
  1. npm install
  1. npm run dev to test locally
    1. npm run dev 在本地测试
  1. npm run deploy to deploy to vercel 💪
    1. npm run deploy 部署到 vercel 💪
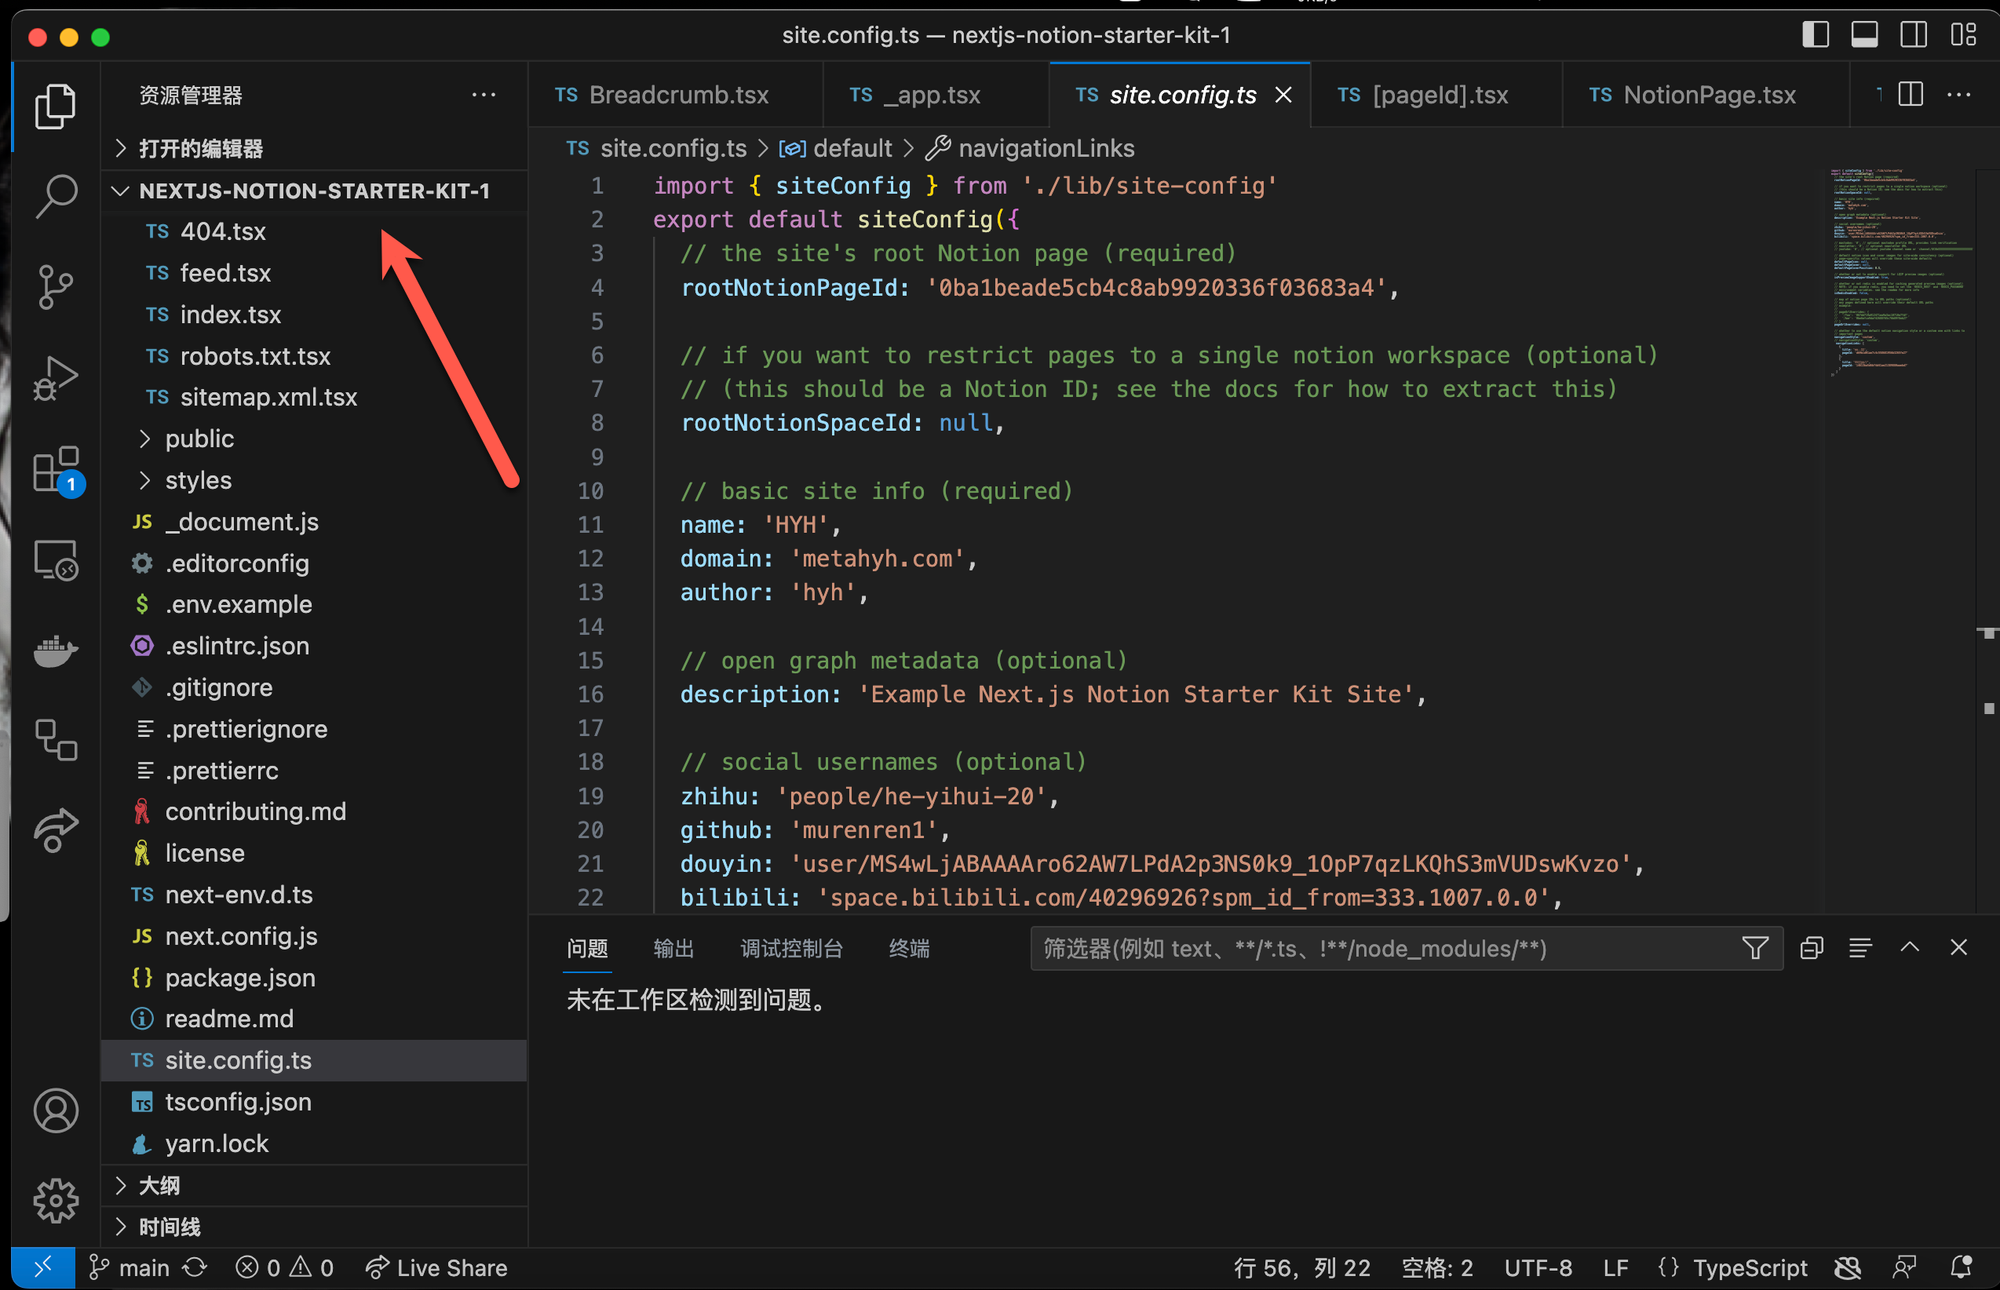
I tried to make configuration as easy as possible — All you really need to do to get started is edit rootNotionPageId.
我试图使配置尽可能简单 - 您真正需要做的就是编辑 rootNotionPageId 。
We recommend duplicating the default page as a starting point, but you can use any public notion page you want.
我们建议复制默认页面作为起点,但您可以使用任何您想要的公共概念页面。
Make sure your root Notion page is public and then copy the link to your clipboard. Extract the last part of the URL that looks like 7875426197cf461698809def95960ebf, which is your page's Notion ID.
确保您的根概念页面是公开的,然后将链接复制到剪贴板。提取 URL 的最后一部分,如 7875426197cf461698809def95960ebf ,这是您页面的 Notion ID。
In order to find your Notion workspace ID (optional), just load any of your site's pages into your browser and open up the developer console. There will be a global variable that you can access called block which is the Notion data for the current page. If you enter block.space_id, it will print out your page's workspace ID.
为了找到您的 Notion 工作区 ID(可选),只需将您网站的任何页面加载到浏览器中并打开开发人员控制台即可。您可以访问一个名为 block 的全局变量,它是当前页面的概念数据。如果您输入 block.space_id ,它将打印出您页面的工作区 ID。
I recommend setting up a collection on your home page that contains all of your articles / projects / content. There are no structural constraints on your Notion workspace, however, so feel free to add content as you normally would in Notion.
我建议在您的主页上设置一个集合,其中包含您的所有文章/项目/内容。然而,您的 Notion 工作区没有结构限制,因此您可以像在 Notion 中通常那样随意添加内容。

URL Paths 网址路径

The app defaults to slightly different URL paths in dev vs prod (though pasting any dev pathname into prod will work and vice-versa).
该应用程序默认在 dev 与 prod 中的 URL 路径略有不同(尽管将任何 dev 路径名粘贴到 prod 中都可以,反之亦然)。
In development, it will use /nextjs-notion-blog-d1b5dcf8b9ff425b8aef5ce6f0730202 which is a slugified version of the page's title suffixed with its Notion ID. I've found that it's really useful to always have the Notion Page ID front and center during local development.
在开发中,它将使用 /nextjs-notion-blog-d1b5dcf8b9ff425b8aef5ce6f0730202 ,它是页面标题的 slugified 版本,并带有其 Notion ID 后缀。我发现在本地开发过程中始终将概念页面 ID 放在前面和中间非常有用。
In production, it will use /nextjs-notion-blog which is a bit nicer as it gets rid of the extra ID clutter.
在生产中,它将使用 /nextjs-notion-blog ,这更好一点,因为它消除了额外的 ID 混乱。
The mapping of Notion ID to slugified page titles is done automatically as part of the build process.Notion ID 到 slugified
页面标题的映射是作为构建过程的一部分自动完成的。
Just keep in mind that if you plan on changing page titles over time, you probably want to make sure old links will still work, and we don't currently provide a solution for detecting old links aside from Next.js's built-in support for redirects.
请记住,如果您计划随着时间的推移更改页面标题,您可能希望确保旧链接仍然有效,并且除了 Next.js 的内置支持之外,我们目前不提供检测旧链接的解决方案重定向。
See mapPageUrl and getCanonicalPageId for more details.
有关更多详细信息,请参阅 mapPageUrl 和 getCanonicalPageId。
You can override the default slug generation on a per-page basis by adding a Slug text property to your database. Any page which has a Slug property will use that as its slug.您可以通过向数据库添加 Slug 文本属性来覆盖每页的默认 slug 生成。任何具有 Slug 属性的页面都将使用它作为其 slug。
NOTE: if you have multiple pages in your workspace with the same slugified name, the app will throw an error letting you know that there are duplicate URL pathnames.
注意:如果您的工作区中有多个页面具有相同的 slugified 名称,应用程序将抛出一个错误,让您知道存在重复的 URL 路径名。

Preview Images 预览图像

notion image
We use next/image to serve images efficiently, with preview images optionally generated via lqip-modern. This gives us extremely optimized image support for sexy smooth images.
我们使用 next/image 来高效地提供图像,并可以选择通过 lqip-modern 生成预览图像。这为我们提供了极其优化的图像支持,可实现性感流畅的图像。
Preview images are enabled by default, but they can be slow to generate, so if you want to disable them, set isPreviewImageSupportEnabled to false in site.config.ts.
默认情况下启用预览图像,但生成速度可能很慢,因此如果要禁用它们,请在 site.config.ts 中将 isPreviewImageSupportEnabled 设置为 false 。

Redis 雷迪斯

If you want to cache generated preview images to speed up subsequent builds, you'll need to first set up an external Redis data store. To enable redis caching, set isRedisEnabled to true in site.config.ts and then set REDIS_HOST and REDIS_PASSWORD environment variables to point to your redis instance.
如果您想缓存生成的预览图像以加快后续构建速度,则需要首先设置外部 Redis 数据存储。要启用 Redis 缓存,请将 site.config.ts 中的 isRedisEnabled 设置为 true ,然后将 REDIS_HOST 和 REDIS_PASSWORD 环境变量设置为指向您的 redis 实例。
You can do this locally by adding a .env file:
您可以通过添加 .env 文件在本地执行此操作:
If you're not sure which Redis provider to use, we recommend Redis Labs, which provides a free plan.
如果您不确定要使用哪个 Redis 提供商,我们推荐 Redis Labs,它提供免费计划。
Note that preview images and redis caching are both optional features. If you’d rather not deal with them, just disable them in your site config.
请注意,预览图像和 redis 缓存都是可选功能。如果您不想处理它们,只需在站点配置中禁用它们即可。

Styles 风格

All CSS styles that customize Notion content are located in styles/notion.css. They mainly target global CSS classes exported by react-notion-x styles.css.
所有自定义 Notion 内容的 CSS 样式都位于 styles/notion.css 中。它们主要针对由react-notion-x styles.css导出的全局CSS类。
Every notion block gets its own unique classname, so you can target individual blocks like this:
每个概念块都有自己唯一的类名,因此您可以像这样定位单个块:

Dark Mode 深色模式

notion image
notion image
Dark mode is fully supported and can be toggled via the sun / moon icon in the footer.
完全支持深色模式,可以通过页脚中的太阳/月亮图标进行切换。

Automatic Social Images 自动社交图像

notion image
All Open Graph and social meta tags are generated from your Notion content, which makes social sharing look professional by default.
所有开放图谱和社交元标签都是从您的 Notion 内容生成的,这使得社交共享默认看起来很专业。
Social images are generated automatically using Vercel OG Image Generation. You can tweak the default React template for social images by editing api/social-images.tsx.社交图像是使用 Vercel OG Image Generation 自动生成的。您可以通过编辑 api/social-images.tsx 来调整社交图像的默认 React 模板。
You can view an example social image live in production here.您可以在此处查看正在生产中的社交图像示例。

Automatic Table of Contents自动目录

notion image
By default, every article page will have a table of contents displayed as an aside on desktop. It uses scrollspy logic to automatically update the current section as the user scrolls through your document, and makes it really easy to jump between different sections.
默认情况下,每个文章页面都会有一个在桌面上显示为 aside 的目录。当用户滚动浏览文档时,它使用滚动监视逻辑自动更新当前部分,并使在不同部分之间跳转变得非常容易。
If a page has less than minTableOfContentsItems (default 3), the table of contents will be hidden. It is also hidden on the index page and if the browser window is too small.
如果页面少于 minTableOfContentsItems (默认 3),目录将被隐藏。如果浏览器窗口太小,它也会隐藏在索引页上。
This table of contents uses the same logic that Notion uses for its built-in Table of Contents block (see getPageTableOfContents for the underlying logic).
此目录使用的逻辑与 Notion 用于其内置目录块的逻辑相同(有关底层逻辑,请参阅 getPageTableOfContents)。

Responsive 反应灵敏

notion image
All pages are designed to be responsive across common device sizes.
所有页面均设计为跨常见设备尺寸进行响应。

Analytics 分析

Analytics are an optional feature that are easy to enable if you want.
分析是一项可选功能,如果您愿意,可以轻松启用。

Fathom Analytics 深邃分析

Fathom provides a lightweight alternative to Google Analytics.Fathom
提供了 Google Analytics 的轻量级替代方案。
To enable, just add a NEXT_PUBLIC_FATHOM_ID environment variable, which will only be used in production.
要启用,只需添加一个 NEXT_PUBLIC_FATHOM_ID 环境变量,该变量仅在生产中使用。

PostHog Analytics PostHog 分析

PostHog provides a lightweight, open source alternative to Google Analytics.PostHog
提供了 Google Analytics 的轻量级开源替代方案。
To enable, just add a NEXT_PUBLIC_POSTHOG_ID environment variable, which will only be used in production.
要启用,只需添加一个 NEXT_PUBLIC_POSTHOG_ID 环境变量,该变量仅在生产中使用。

Environment Variables 环境变量

If you're using Redis, analytics, or any other feature which requires environment variables, then you'll need to add them to your Vercel project.
如果您使用 Redis、分析或任何其他需要环境变量的功能,则需要将它们添加到 Vercel 项目中。
If you want to test your redis builds with GitHub Actions, then you'll need to edit the default build action to add REDIS_HOST and REDIS_PASSWORD. Here is an example from my personal branch. You'll also need to add these environment variables to your GitHub repo as repository secrets.
如果您想使用 GitHub Actions 测试您的 Redis 构建,那么您需要编辑默认构建操作以添加 REDIS_HOST 和 REDIS_PASSWORD 。这是我个人分支的一个例子。您还需要将这些环境变量作为存储库机密添加到 GitHub 存储库中。

Contributing 贡献

See the contribution guide and join our amazing list of contributors!请参阅贡献指南并加入我们令人惊叹的贡献者列表!

License 执照

MIT © Travis Fischer 与©特拉维斯·费舍尔
Support my open source work by following me on twitter 通过在 Twitter 上关注我来支持我的开源工作


第一步:分叉/克隆此存储库

nextjs-notion-starter-kit
transitive-bullshitUpdated Feb 20, 2024
进入GitHub项目主页点击FORK并创建自己的分叉
分叉nextis-notion-starter-kit项目
进入自己的分叉后,需要把文件下载到本地
项目下载到本地
项目下载到本地
在visual Studio Code中打开
visual Studio Code
visual Studio Code

第二步补充:更改 site.config.ts 中的一些值

Notion ID替换

这里有几处需要修改代码的地方需要注意一下,rootNotionPageId后面的ID更换:
替换成自己的notion链接页面的数字和字母ID

替换项目名,域名,作者

这个没什么好说的,直接更换就是

替换社交媒体链接

这里的调整相对复杂很多,需要调整多个文件,有能力的可以自行更换,不行的话可以删掉

第三步:部署vercel

进入vercel官网,点击Add New和Project
添加项目
添加项目
连接你的Github Account,并选择你需要连接的项目
链接GitHub项目
链接GitHub项目
链接GitHub项目
链接GitHub项目
命名你的项目名称(可以跟GitHub同名也可以新名称)
命名vercel项目名称
命名vercel项目名称
等待部署成功后可以重定向自己的域名,填写自己买的域名即可
换成自己的域名
换成自己的域名
换成自己的域名
换成自己的域名
用推荐的方式重定向
域名重定向
域名重定向
然后买的域名需要去做两条DNS记录,我阿里云的买的域名,记录方式如下
进入域名控制台,点击你的域名那一行的解析
notion image
CANME设置如下
CANME设置
CANME设置
A设置如下
A设置
A设置
设置成功如下,就全部部署成功了
部署成功
部署成功


最后

由于本项目是基于Next.js框架,所以没有可视化调整后台, 如果想做网站的定制,需要一定的编程能力,可以尝试用ChatGPT帮助一起修改网站,如果不会调试,可以私信,帮你定制网站模块。

💡
👉平时我会在知乎,博客网站上更新文章,B站更新长视频,抖音更新短视频,喜欢我的可以关注社媒 知乎GitHub B站抖音
 
全面测评Google的搜索生成体验 (SGE)保姆级开通OpenAI API和ChatGPT Plus教程(macOS版)